Installing security cameras yourself can save hundreds of dollars in labor costs. With modern technology becoming increasingly user-friendly, setting up a robust surveillance system is no longer just for professionals. Whether you want to monitor your front porch for package thieves or keep an eye on your pets indoors, a solid setup brings incredible peace of mind. Taking the DIY route allows you to customize your system exactly to your property’s unique layout.
Deciding between a DIY approach and a professional installation ultimately comes down to your comfort with basic tools. However, learning how to install security cameras empowers you to upgrade and maintain your system over time.
The benefits are clear: enhanced safety, significant cost savings, and complete control over your family’s privacy. You do not need an engineering degree to figure out how to install home security cameras effectively.
In fact, self-installed home security cameras are currently dominating the market. In this comprehensive guide, drawing from over 15 years of professional security consulting experience, I will walk you through every single step.
Can You Install Security Cameras Yourself?
The short answer is an absolute yes; most homeowners can successfully tackle a DIY security installation. Technology has shifted dramatically toward plug-and-play models designed specifically for the average consumer.
If you find yourself asking, “Can I install home security cameras myself?” evaluate your comfort level with a power drill and basic ladder safety. That is usually the extent of the physical labor required for a standard setup. Installing a home security camera yourself mainly requires careful planning before you ever pick up a tool. You need to map out your power sources, check your Wi-Fi signal strength, and determine the optimal viewing angles.
For wireless battery-powered systems, the skill level required is practically zero. You simply screw a magnetic mount into a wall, snap the camera in place, and connect it to your smartphone app. However, there are moments when hiring professionals makes sense. If you are dealing with complex hardwired systems, intricate rooflines, or require deep wall fishing for cables, bringing in an expert ensures the job is done safely.
Still, for the vast majority of residential properties, teaching security cameras how to install security cameras is a highly rewarding weekend project.
Essential Tools & Equipment Needed
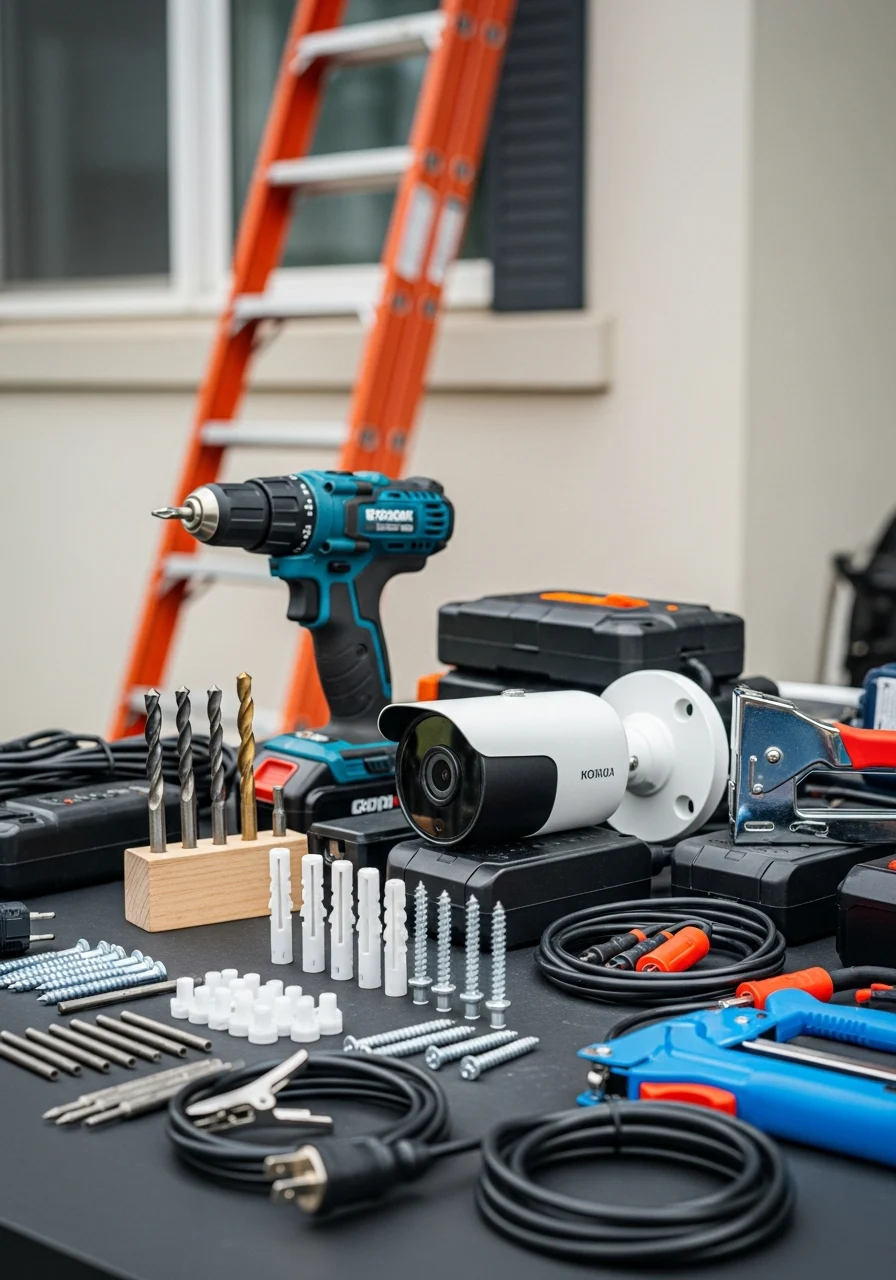
Before you climb a ladder, gathering the right tools will save you immense frustration. Having everything staged and ready prevents you from making multiple trips to the hardware store mid-project.
A reliable cordless power drill is your most important tool. You will need a set of drill bits tailored to your exterior material, such as masonry bits for brick or standard wood bits for siding. High-quality screws and wall anchors are non-negotiable. While most cameras come with basic mounting hardware, I highly recommend upgrading to heavy-duty anchors for outdoor installations to withstand high winds.
A sturdy extension ladder is essential for reaching rooflines and eaves safely. Always ensure your ladder is placed on level ground, and preferably have a partner hold the base while you work at heights. You will also need the appropriate power cables, extension cords, or fully charged battery packs, depending on your camera model. Cable clips and a staple gun are great for keeping your wiring neat and organized.
Finally, a powerful WiFi router is the backbone of any wireless or smart camera setup. You might also need a Wi-Fi extender if you are mounting cameras far from your main network hub.
Step-by-Step Guide for Camera Installation
Learning how to set up security cameras properly ensures your system functions flawlessly for years. This core process applies whether you are using a basic cloud camera or a multi-channel DVR setup.
Step 1: Strategic Camera Placement Planning
Never drill a hole without testing the view first. Sync the camera to your phone, hold it in your desired location, and check the live feed. Ensure there are no glaring sun reflections or blind spots obscuring the frame.
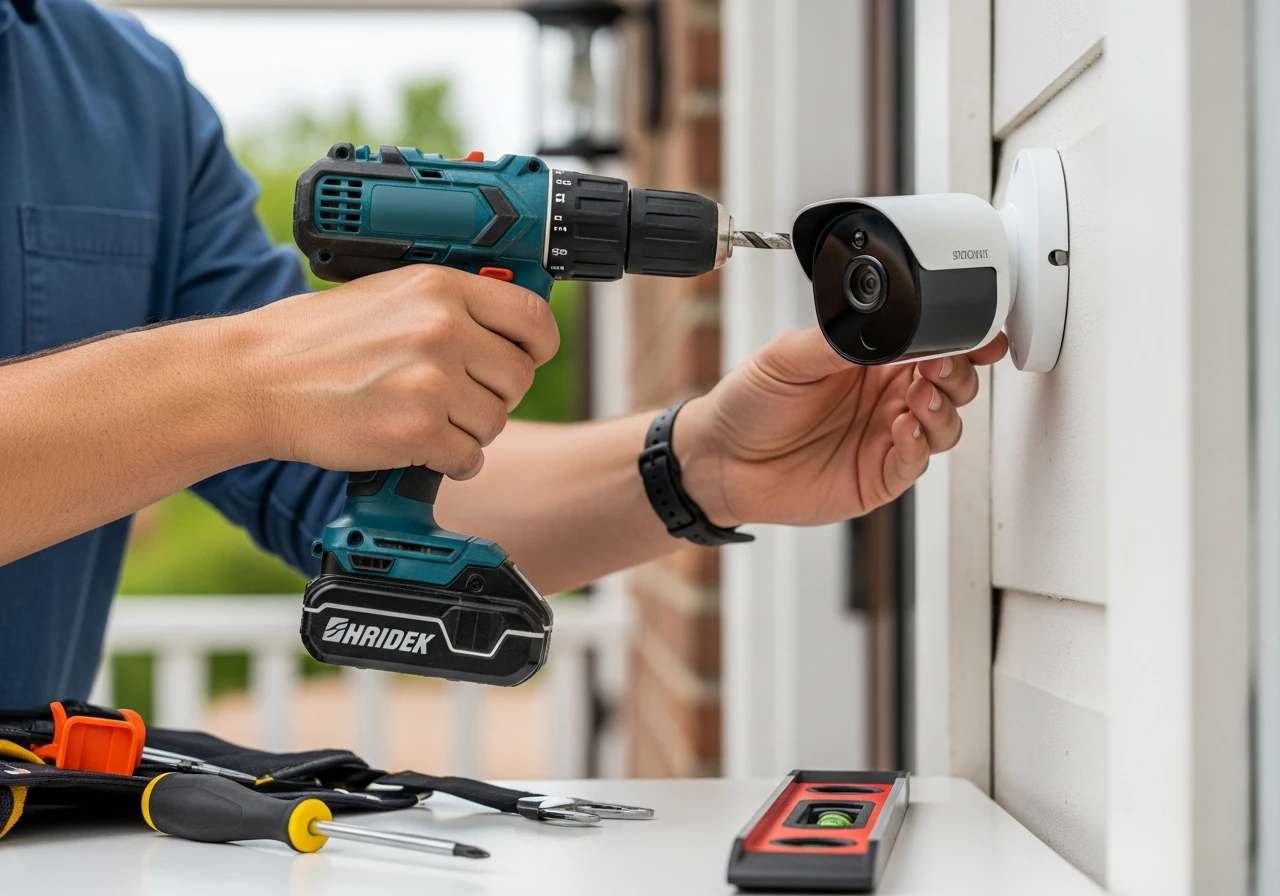
Step 2: Mounting the Camera Hardware
Use the mounting template provided in your kit to mark your drill holes with a pencil. Drill pilot holes, tap in your wall anchors securely, and screw the mounting bracket tightly to the surface. Ensure it sits flush against the wall to prevent water intrusion.
Step 3: Running Cables or Connecting Wirelessly
For wireless systems, simply attach the camera to the mount and insert the battery. If you are routing cables, use a larger drill bit to create a pass-through hole into your garage or attic. Always use silicone sealant around the hole to keep moisture and insects out.
Step 4: Connecting to the DVR/NVR or Mobile App
Run your wiring back to your central hub, which is usually a digital video recorder (DVR) or network video recorder (NVR). For smart systems, follow the in-app instructions to connect the camera to your local Wi-Fi network.
Step 5: Final Testing and Angle Adjustment
Once everything is powered on, walk through the camera’s field of view to test motion detection. Adjust the physical angle of the lens until you have the perfect shot. This is the definitive method for a successful home security camera system installation.
If you prefer visual guides, you can often find a how-to-install-a-CCTV-camera step-by-step PDF directly on the manufacturer’s website for your specific model.
Outdoor Security Camera Setup Strategies
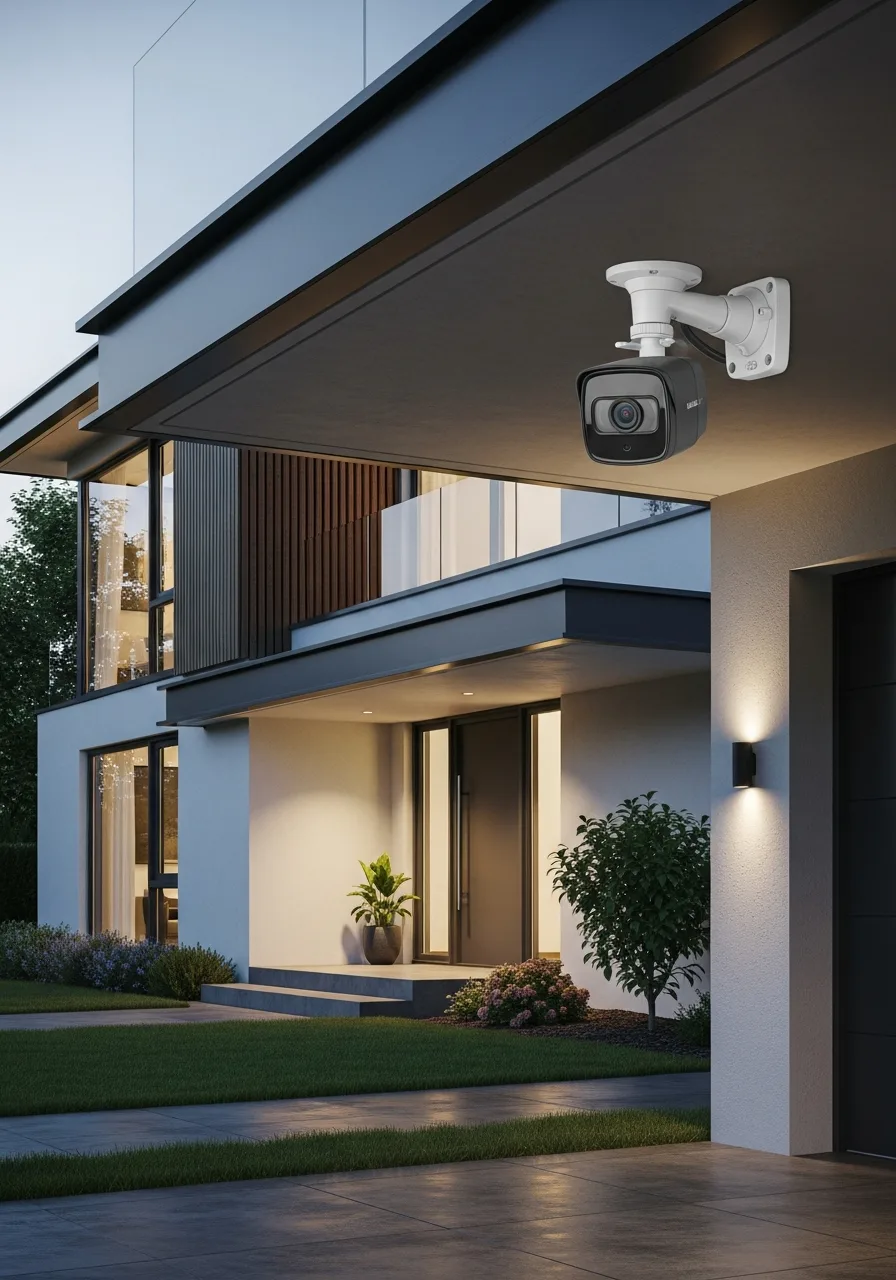
Outdoor cameras are your first line of defense, making their placement absolutely critical. You want them highly visible to deter criminals but positioned out of easy reach to prevent tampering.
When planning how to install outdoor security cameras, focus on your primary entry points. The front door, back patio, and driveway are the most vulnerable areas of any residential property. The golden rule of outdoor placement is the height recommendation: aim for 8 to 10 feet off the ground. This height is perfect for capturing clear facial details while remaining too high for an intruder to smash with a bat.
Weatherproofing is another massive factor when figuring out how to install security cameras outside the home. Even if a camera is rated IP65 or higher for weather resistance, providing a little extra shelter goes a long way. Try to tuck the cameras under the roof eaves whenever possible. This protects the lens from direct rain, snow accumulation, and harsh midday sun glare that can wash out your video feed.
When installing exterior security cameras, always point the lens slightly downward. Pointing it straight at the horizon can cause the sensor to expose for the bright sky, leaving the ground completely dark in the video.
Indoor Security Camera Setup Strategies
Indoor setups require a delicate balance between comprehensive security and respecting your family’s personal privacy. The goal is to monitor traffic flow without making your home feel like a surveillance state.
If you want to know how to install security cameras at home effectively, focus on the main thoroughfares. The living room, central hallways, and the inside of the front and back doors are ideal locations. You must strictly avoid privacy-sensitive areas. Never install cameras in bedrooms, bathrooms, or areas where guests expect total privacy. Stick to common areas where a potential intruder would be forced to walk.
When figuring out how to install security cameras in home environments, lighting is a major consideration. Avoid pointing indoor cameras directly at bright windows, as the backlighting will turn any person walking by into a dark silhouette. Optimizing your Wi-Fi coverage is the biggest hurdle for indoor smart cameras. Thick brick walls, large mirrors, and metal appliances can severely degrade your wireless signal, leading to laggy video feeds.
Before finalizing how to install security cameras in your home, run a speed test on your phone in the exact spot you plan to mount the camera. If the signal drops, you may need a mesh router system.
Specialized Installation Environments
Every property is unique, and sometimes standard mounting instructions simply do not apply. Here is how to handle complex residential architecture based on my years in the field.
Two-Story House Strategies
Navigating a tall property requires specialized ladder safety and excellent cable management. When planning how to install security cameras in two-story house styles, consider mounting them on the first-floor roofline to avoid extreme ladder heights.
If you must mount high up, consider Power over Ethernet (PoE) systems. This allows you to run a single data cable that also provides power, drastically simplifying how to install security cameras in 2-story house setups by reducing the wires you need to pull.
Mounting Without Drilling
Renters and historic homeowners often cannot put holes in their exterior walls. Luckily, learning how to install security cameras without drilling is easier than ever with modern accessories.
Heavy-duty outdoor adhesive mounts and specialized 3M VHB tape can hold lightweight, battery-powered cameras securely. Alternatively, magnetic bases can be slapped directly onto metal gutters or doorframes with zero damage.
Utilizing Eaves and Soffits
Mounting under the roofline provides the best protection from the elements. To execute how to install security cameras under eaves, you will usually screw directly into the wooden soffit material.
This location allows for incredibly clean wiring. You can drill a small hole, push the wire directly into the attic, and completely hide the cables, mastering how to install security cameras in soffit structures for a professional look.
Attaching to Vinyl Siding
Screwing directly into vinyl siding can cause the material to crack or allow water behind the panels. The secret to installing security cameras on vinyl siding is using no-drill siding clips. These cheap metal clips slide underneath the siding seams and provide a secure mounting point for your camera bracket. They are incredibly strong and can be removed without leaving a single trace.
Mobile Home Installations
Mobile homes have thinner exterior walls, making heavy anchors ineffective. When researching how to install security cameras in a mobile home, prioritize lightweight, wireless cameras.
Use short, specialized sheet metal screws to attach brackets to the aluminum exterior, and always use silicone caulk to seal the small holes instantly to prevent moisture damage.
Homes Without Attic Access
Running wires without an attic is the most challenging scenario. To learn how to install security cameras without an attic, you have to get creative with exterior cable management. You can run cables along the exterior walls using weather-proof PVC conduit pipes painted to match your house. Alternatively, simply opt for a 100% wire-free battery system to bypass the problem entirely.
Wired vs Wireless Installation Dynamics
Choosing between hardwired and wireless systems dictates your entire installation process. Both have distinct advantages, and making the right choice depends on your property layout and security needs.
The Reliability of Wired Cameras
Wired setups are the gold standard for continuous, 24/7 recording. Because they are physically tethered to your network, they do not suffer from Wi-Fi dropouts or battery failures. Understanding how to install wired security cameras means committing to routing cables through walls, attics, and crawlspaces. It is labor-intensive but results in a highly reliable, zero-maintenance system.
When you look at how to install wired outdoor security cameras, you often deal with Siamese cables (video and power combined) or PoE network cables. This ensures the video feed is never interrupted by internet outages. Ultimately, how to install wired home security cameras is a project best suited for homeowners who want permanent, professional-grade surveillance that never needs a battery swap.
The Convenience of Wireless Cameras
Wireless cameras have revolutionized the DIY market due to their sheer simplicity. They connect to your home Wi-Fi to transmit video, completely eliminating the need to run data cables back to a central hub.
Learning how to install wireless security cameras takes mere minutes. You mount the bracket, snap the camera in, and connect it via a smartphone app. When considering how to install wireless security cameras outdoors, you must ensure your router’s signal can penetrate your exterior walls. If the signal is weak, the camera will drain its battery faster trying to stay connected.
For renters or those wanting a quick setup, mastering how to install a wireless security camera system at home offers the best balance of decent security and minimal physical labor.
Powering Your Outdoor Surveillance
A camera is useless without a reliable power source. If you are scratching your head, wondering, “How do you power an outdoor security camera?” you generally have three main options to consider.
The first is hardwiring it to your home’s electrical system. This involves plugging a power adapter into an exterior outlet or running a low-voltage cable through your walls to an indoor outlet. The second option is utilizing rechargeable battery packs. This is incredibly common for wireless smart cameras; you simply unclip the battery every few months and charge it inside via USB.
The third, and increasingly popular, option is solar power. By mounting a small, weather-proof solar panel next to the camera, you can keep the internal battery constantly topped off, achieving a truly wire-free and maintenance-free setup.
Analyzing the Cost of Camera Installations
Budgeting for your security system involves looking at both the hardware costs and the potential labor fees. The price variance between a DIY project and a professional setup is substantial.
If you choose the DIY route, you are only paying for the equipment. Basic Wi-Fi cameras start around $50, while high-end 4K PoE cameras can run $200 to $300 each. For a complete 4-camera DIY system with a local storage drive, expect to spend anywhere from $300 to $800 total. When wondering how much to install security cameras yourself, your only labor is your own time.
If you hire a professional, the costs jump significantly. Installers generally charge $100 to $500 per camera just for the labor, depending on how difficult the wire routing is in your specific home. So, how much does it cost to install security cameras professionally? A fully installed, high-quality 4-camera system can easily range from $1,000 to over $2,500.
When calculating how much security cameras cost to install, remember that hardwired systems are always more expensive to put in than wireless ones. Figuring out how much to install wired security cameras requires factoring in the hourly rate of an electrician or specialized low-voltage technician.
Professional Installation vs DIY Setup
The DIY route is perfect for budget-conscious homeowners dealing with standard, single-story homes. If you are using wireless, battery-powered smart cameras, doing it yourself is a no-brainer.
However, professional security camera installation is worth the premium if you want a complex, hardwired PoE system across a large property. Professionals know how to hide wires flawlessly and ensure everything is up to local fire codes. If you are uncomfortable on a ladder or dealing with power tools, do not risk an injury. Services like Home Depot security camera installation or local independent contractors can get the job done safely in a single afternoon.
Ultimately, choose DIY if you value saving money and learning your system inside out. Choose a professional if you value seamless aesthetics, guaranteed reliability, and saving your own weekend time.
Integrating Mobile and Smart Systems
The true power of modern surveillance lies in your pocket. Setting up the mobile application is just as important as mounting the physical hardware to the wall. Learning how to install CCTV cameras in mobile devices is usually a breeze. You download the manufacturer’s app, create a secure account, and scan a QR code on the camera body to link the devices.
Once connected, you can set up custom motion detection zones to prevent false alerts from passing cars. You can also monitor your live feeds from anywhere in the world, bringing total security right to your smartphone.
Frequently Asked Questions
What is the best way to install security cameras?
The best way is to combine strategic placement at major entry points with the proper height (8-10 feet). Ensure a stable Wi-Fi or wired connection, and use heavy-duty anchors for outdoor mounts to guarantee long-term stability.
How to install security cameras on a wall?
First, use a template to mark your holes. Drill pilot holes into the wall, insert appropriate anchors (masonry for brick or drywall anchors for interior), and screw the mounting bracket tightly to the surface before attaching the camera.
How to install Lorex wired security cameras?
Mount the cameras at your desired locations and run the included BNC or Ethernet cables through your attic or walls. Connect all cables back to the central Lorex DVR/NVR unit, plug the unit into a monitor, and follow the on-screen setup wizard.
How to install Night Owl wired security cameras?
Similar to other hardwired systems, mount the physical cameras and route the video/power cables back to the Night Owl DVR. Connect the DVR to your internet router, power the system on, and download the Night Owl app for remote viewing.
How much should I charge to install security cameras?
If you are doing this as a side business, standard rates range from $100 to $300 per camera for labor. This depends heavily on the complexity of the wire routing, the height of the installation, and your local market rates.
Conclusion
Securing your property does not have to be an overwhelming or wildly expensive ordeal. As we have covered, DIY installation is entirely possible for the average homeowner armed with a drill and a free afternoon. Your biggest decision will be choosing between the rock-solid reliability of a wired system and the sheer convenience of a wireless setup. Both offer incredible protection when placed strategically around your home.
By taking the time to plan your camera locations, understanding your power options, and calculating your costs, you ensure a smooth installation process. You now have the expert knowledge required to tackle this project head-on. Do not wait for a security breach to happen before taking action. Grab your tools, pick your ideal camera system, and start installing your new security cameras today!
References
- SafeWise – How to Install Security Cameras (Indoor & Outdoor Guide)
- This Old House – How to Choose & Install a Home Security System
- PCMag – The Best Outdoor Home Security Cameras (Wired vs. Wireless)
- Security.org – Security Camera Installation Guide
- Consumer Reports – Home Security Cameras Placement & Buying Guide