How to Create Wedding DIY Decorations (Step-by-Step + Budget-Friendly Ideas for Home & Reception) by Jason Mitchell
Best Tips for DIY Home Repairs: Safe, Budget-Friendly Fixes Every Homeowner Should Know by Jason Mitchell
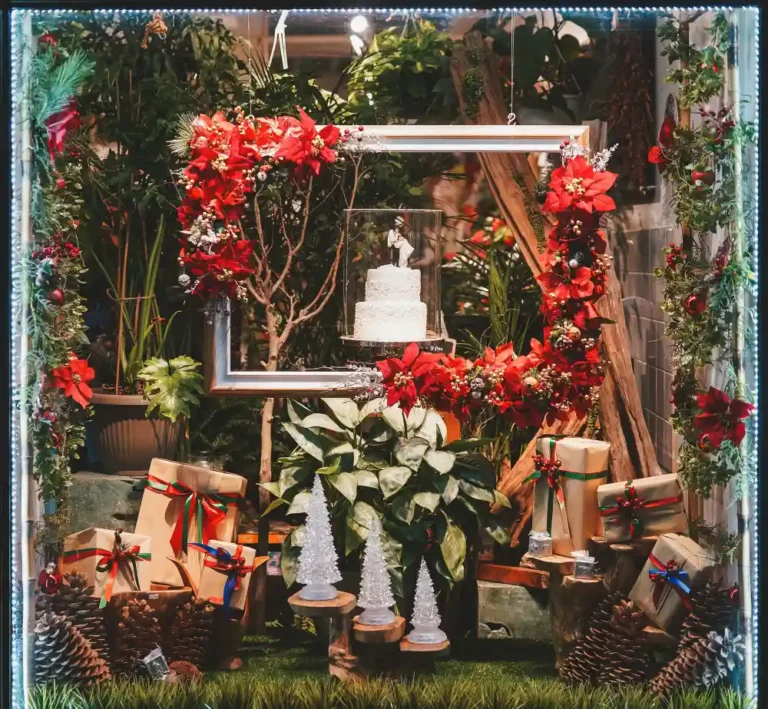
DIY Christmas Decorations (2026): Easy, Cheap & Creative Ideas for Indoor & Outdoor Decor by Jason Mitchell
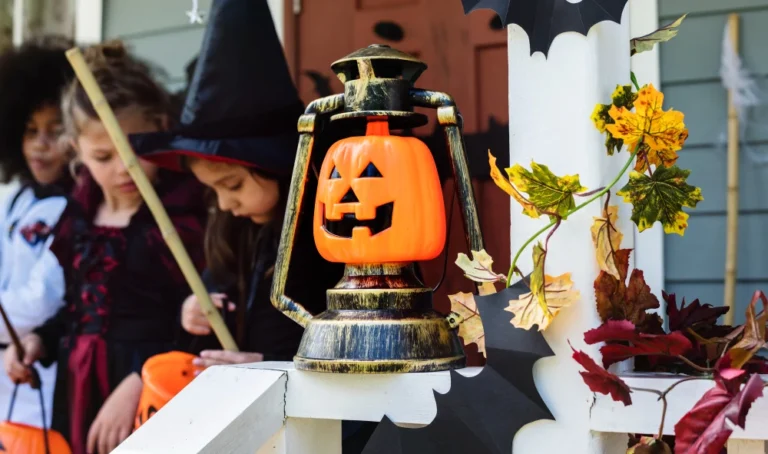
DIY Halloween Decorations (2025–2026): Easy, Scary, Cheap & Outdoor Ideas for Every Home by Jason Mitchell